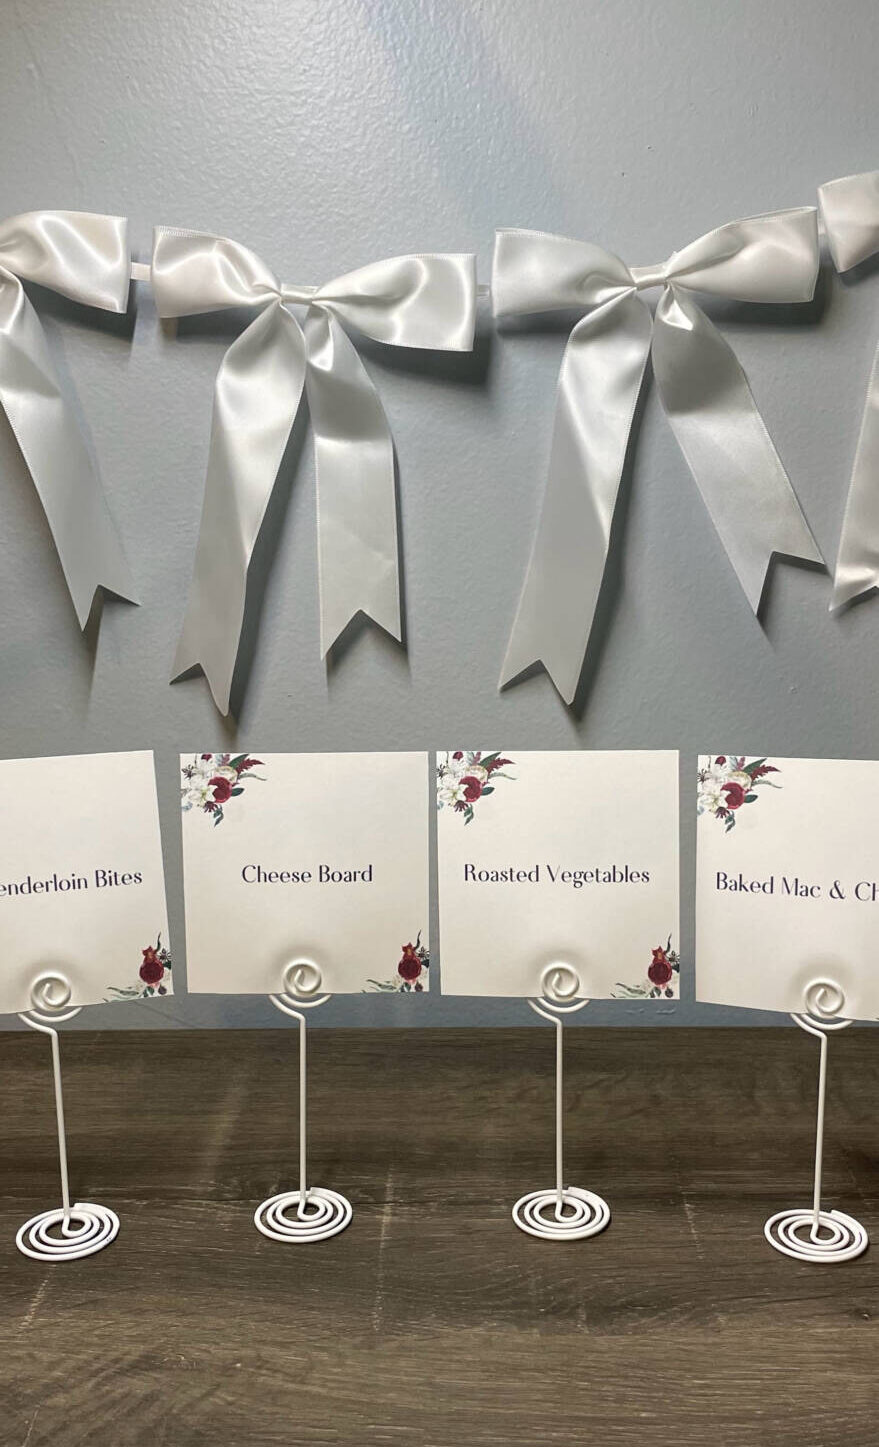
DIY Wedding Series: Food Signs
Welcome back to my DIY wedding series! Today I will be sharing how I made food signs for my wedding! It made it easier for everyone to know what each food item was.
For this project, you will need:
- Cardstock
- Place card holders from Hobby Lobby (or any you like)
- Printer
- Canva (it's free)
- Paper cutter or scissors
I started this project by taking a square template in Canva and making a page for each food item. I typed just the name of what each food was, but you could even add ingredients if you'd like. I had a very small wedding, and we knew all of the food allergies and avoided those foods completely. However, if you are having a bigger wedding, it could be good to list the ingredients. In the Elements tab, I found flowers I liked and placed them diagonally in the corner of the signs. I saved each one as a PNG and then pasted 4 at a time into an 8.5x11in page. I made each square into a 3.5 to 3.5 ratio - you can do any size you want for this. I downloaded it as a PDF and printed it. Then you will cut each square out. I cannot cut in a straight line, so I used a paper cutter. A Cricut would work too. I found a pack of 8 place card holders at Hobby Lobby for $2.99. The amount was perfect for what I needed. They also make different styles of these at Michaels or other craft stores. I love how these turned out, and they added just a little extra to our buffet table!
I hope you liked this post, and if you decide to try these food signs, tag @sydneyj.artanddesign on Instagram or Facebook. A video of this DIY can be found on my socials as well!
Have a blessed day,
Sydney