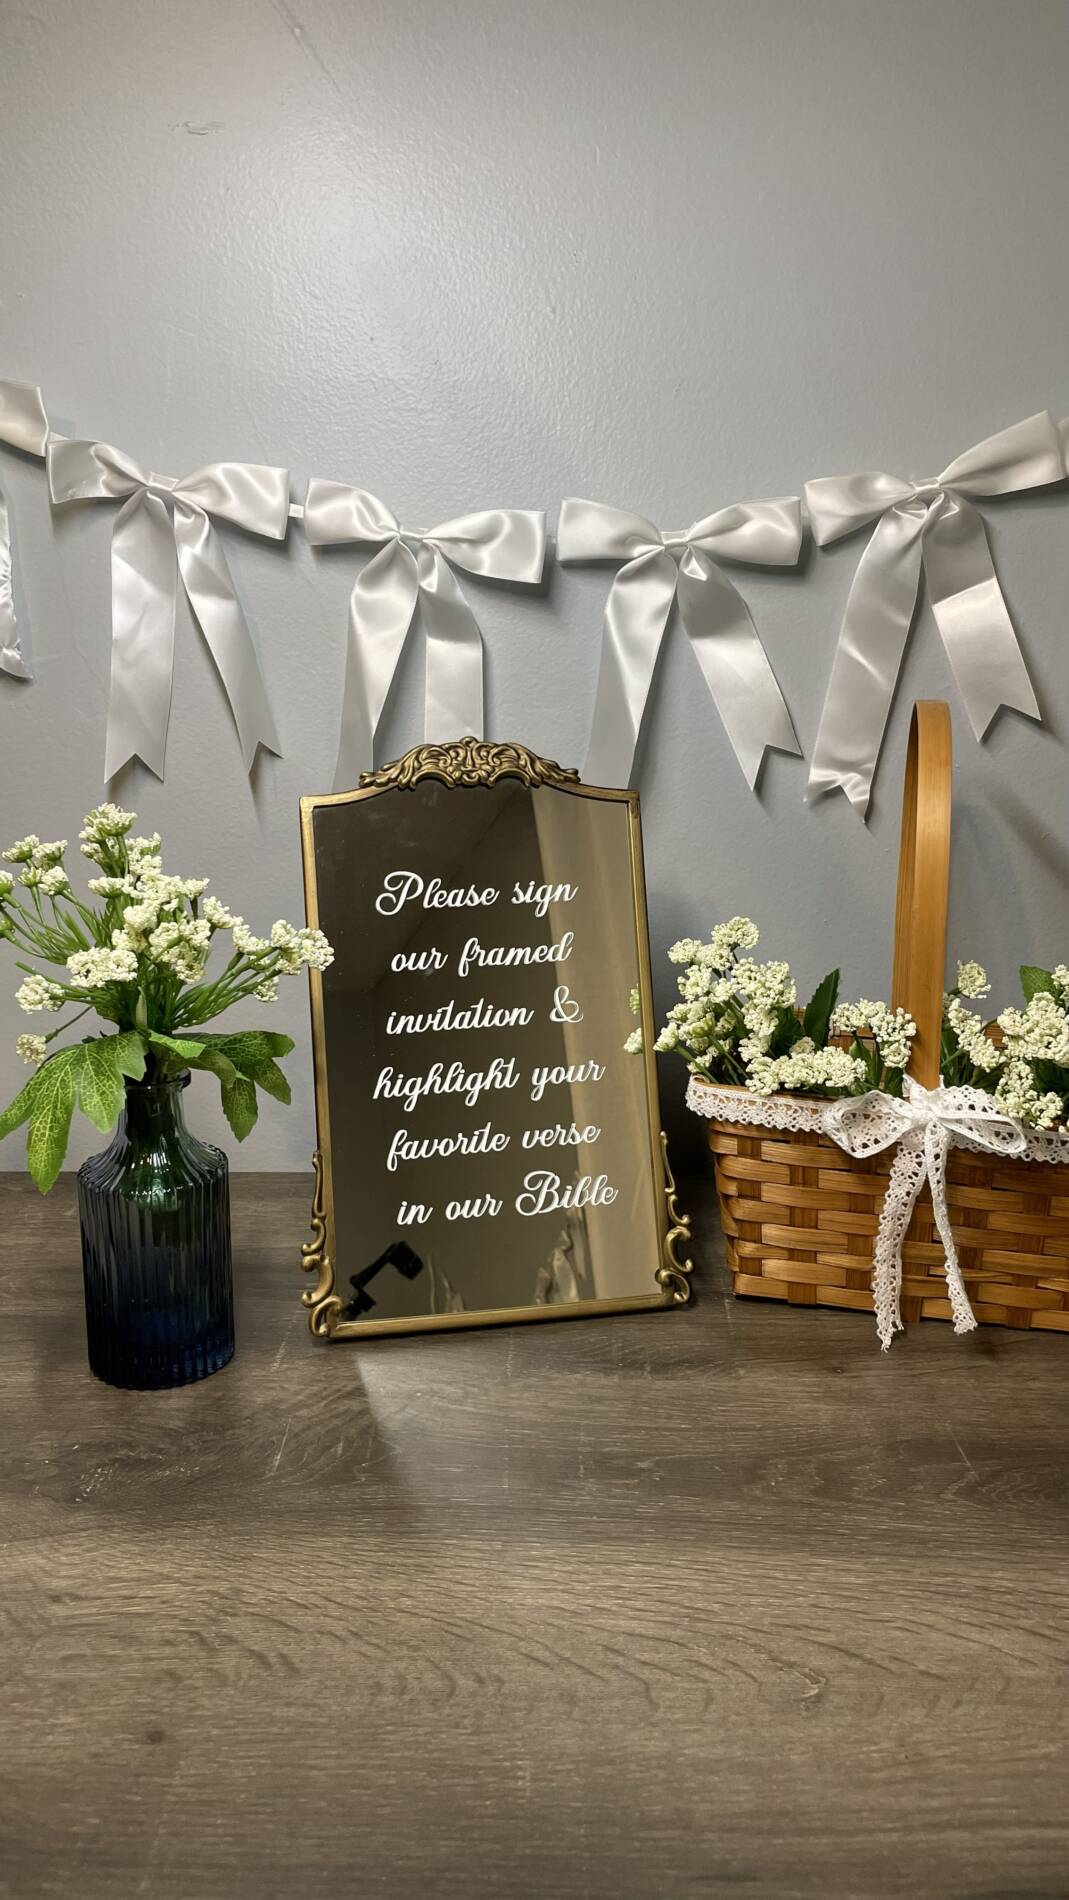
DIY Wedding Series: Mirror Sign
Welcome back to my DIY wedding series! Today I will be sharing how I made mirror signs for my wedding!
I found a mirror on sale at the At Home store for about $7. I wasn't sure exactly what I wanted to do with it, but later on, I decided to make it into a sign. This is one of the first Cricut projects I ever did, and it was pretty simple for a beginner! Before beginning the project, you want to measure the mirror and make sure your design will fit into the dimensions. You also want to clean the mirror before attaching your vinyl. In Cricut Design Space, write the text you want, and have the Cricut cut out your text. When it is finished, weed out any of the extra vinyl. Then, use the transfer tape to cover the design and use the scraper tool to secure it onto the transfer tape. To get the letters aligned in the center, I folded the design in half. Then I taped the top of the design to the mirror and slowly took the backing off the vinyl/transfer tape. Once the backing is off, scrape the design again to secure it to the mirror. After removing the transfer tape, your design is finished! I used this same process on a welcome mirror sign at my wedding, and it turned out just as lovely! The mirror signs are so elegant and give a vintage vibe to your wedding. We had a vintage/moody winter wedding, so this was the perfect addition to our decor! If you'd like to see a video of this process, you can find it on Instagram at @sydneyj.artanddesign.
For this project, you will need:
- Mirror (any will work - I got mine from the At Home store)
- White permanent vinyl (mine is Four Oh Five Basics)
- Transfer tape (I used Cricut brand)
- Cricut (mine is Cricut Maker 4)
- Scraper
I hope you liked this project, and if you decide to try this mirror sign, tag @sydneyj.artanddesign on Instagram or Facebook.
Have a blessed day,
Sydney