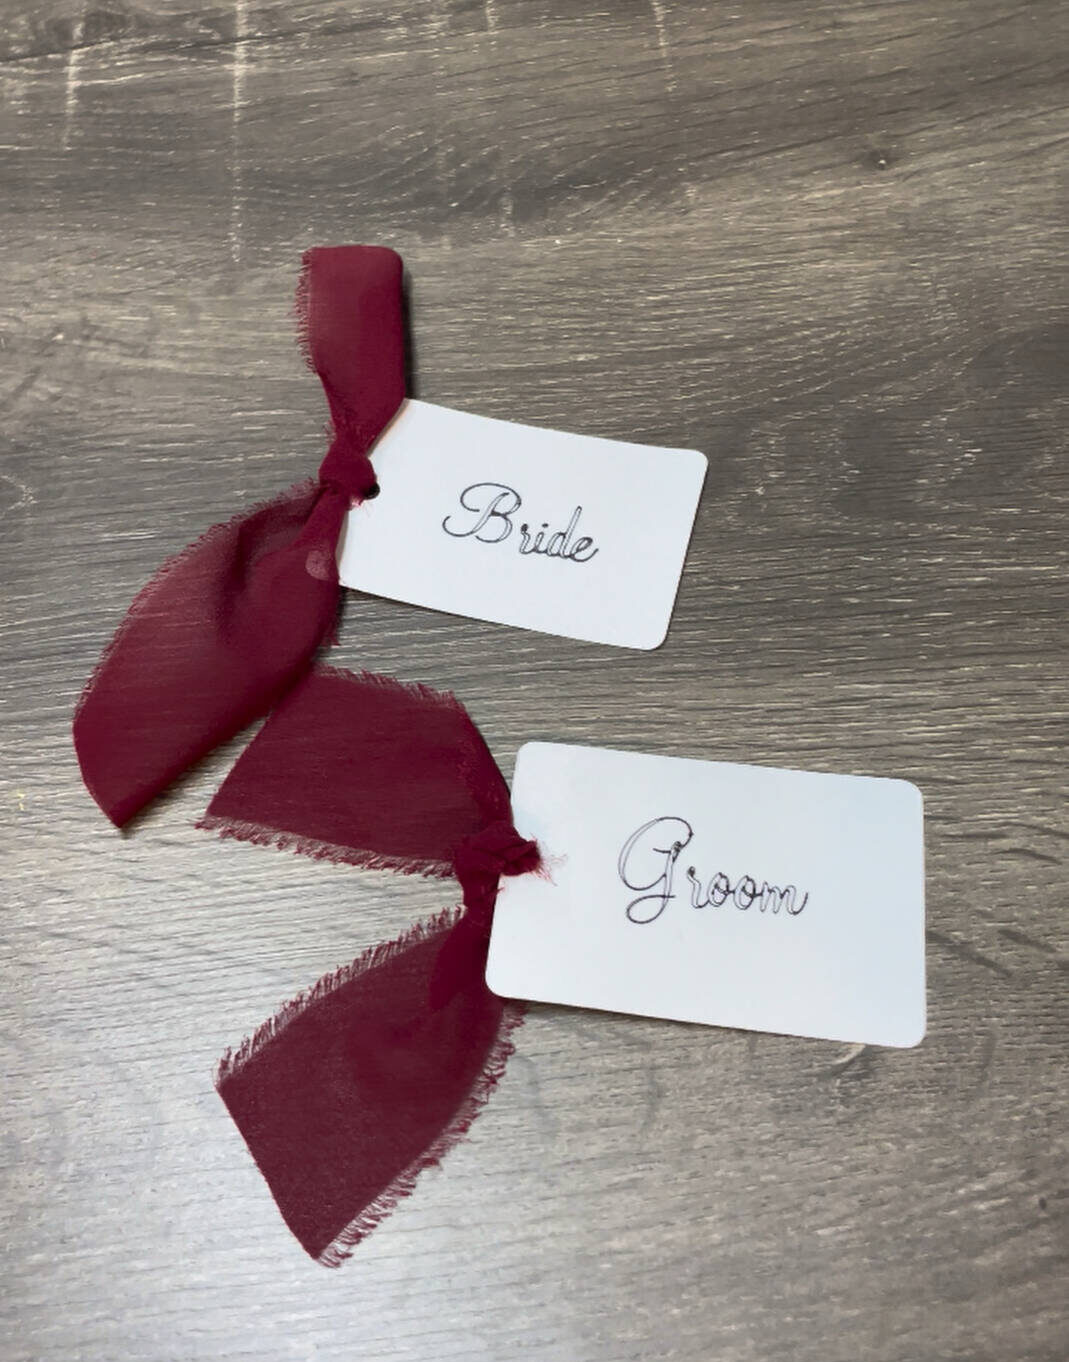
DIY Wedding Series: Place Cards
Welcome back to my DIY wedding series! Today I will be sharing how I made place cards for my wedding!
For this project, you will need:
- Cardstock
- Ribbon (I used chiffon ribbon from Amazon)
- Cricut (I have a Cricut Maker 4)
- Cricut pen (mine came with my machine)
- Cricut mat (I used the standard grip mat)
In Cricut Design Space, I created a 3x2 in rounded rectangle with a small circle cut out on the middle left side. This is the base of the place card. The hole will be for the ribbon later. After cutting out all the place cards, I spaced out the cards on the Cricut mat for the names. I was able to fit about 9 spaced out onto the mat. For the names, type each one in separate text boxes in Design Space so you can arrange them easily later. Since I could only fit 9 place cards on each mat, I separated the names in groups of 9 on each mat until I reached the number I needed. You want to line up the names on the screen with the placement of the cards on the Cricut mat to make sure they are accurate and centered. The numbers along the side of the mat and the design space are the same, so they help so much! Then, using a Cricut pen of your choice, insert it into clamp A and let the Cricut do its thing. I got some chiffon ribbon to add to mine, and I think they turned out so simple and cute! To keep it organized on wedding day, I separated and labeled each table into its own bag. This helped so much for the day of!
This was one of the first projects I did with my Cricut, so this one is super beginner-friendly! You can change the shape, font & even print designs on the place card - it is so easy to customize to what you want!
I hope you liked this post, and if you decide to try these place cards, tag @sydneyj.artanddesign on Instagram or Facebook. A video of this DIY can be found on my Instagram and Facebook.
Have a blessed day,
Sydney