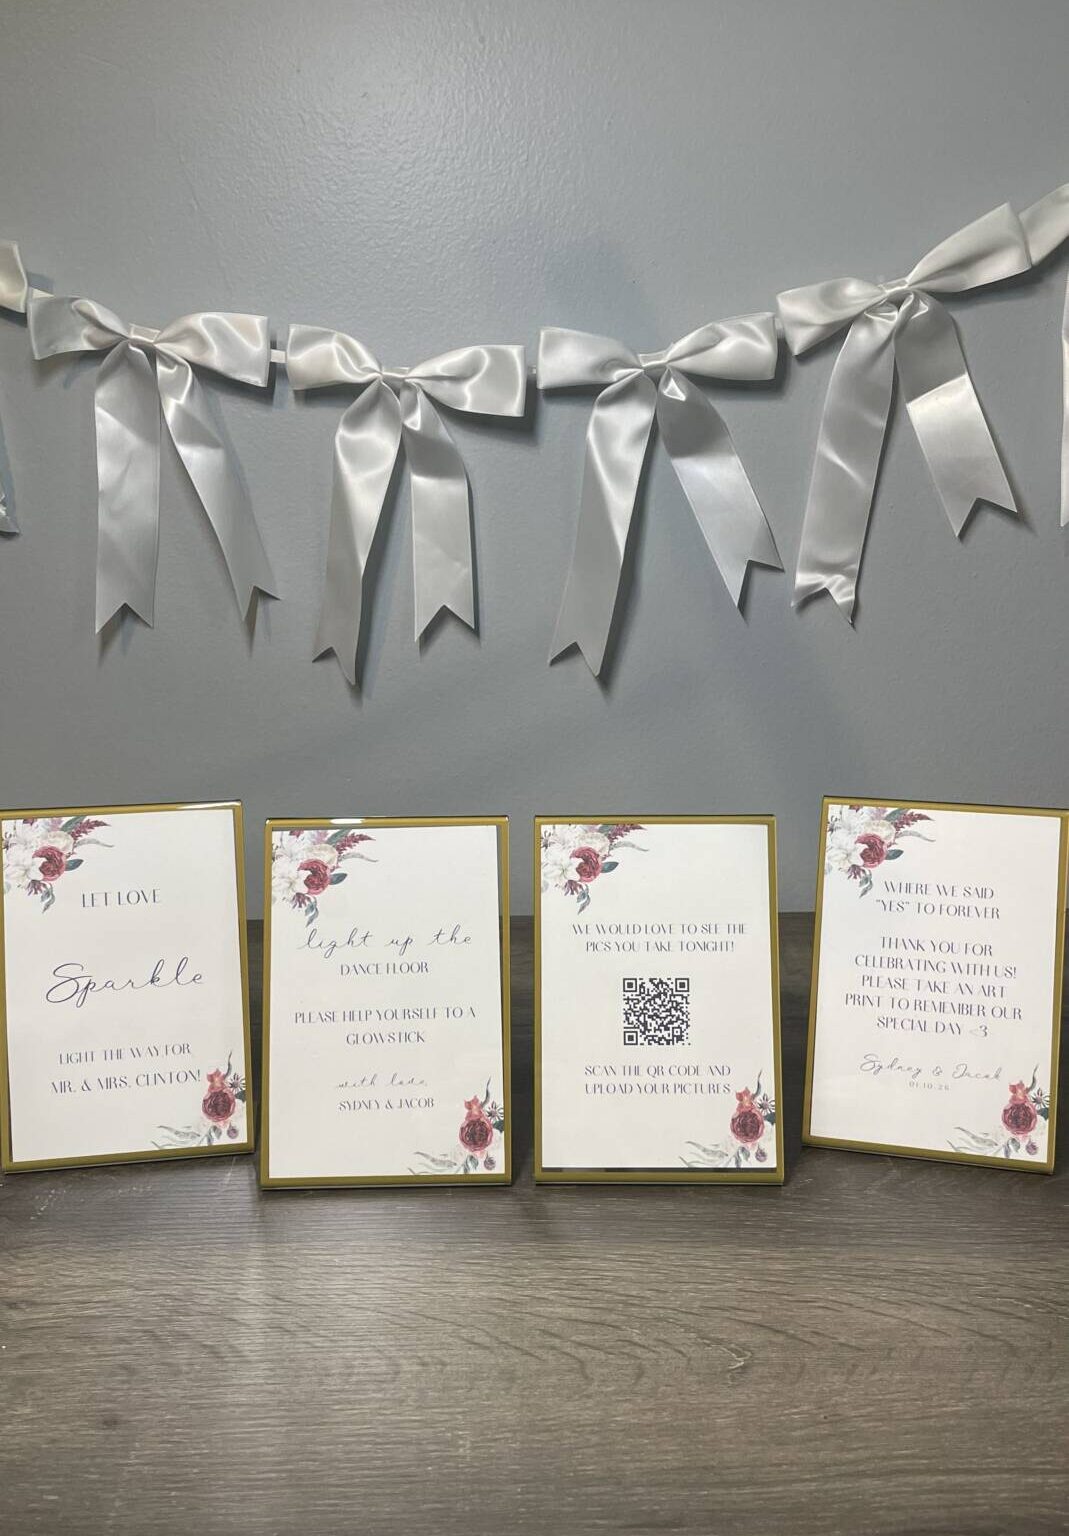
DIY Wedding Series: Table Signs
For this project, you will need:
- Cardstock
- Printer
- Table sign holders
- Something to cut the paper (I used a Cricut, but you don't have to)
Optional:
- Cricut (I have a Cricut Maker 4)
- Cricut mat (I used the standard grip mat)
You can make your own wedding table signs! These are so easy to make, and it doesn't cost much to make. I wanted mine pretty simple, so I went into the elements tab on Canva and picked a flower design I liked. You can look up a template if you don't want to create a design from scratch. I looked on Pinterest for inspo and found fonts similar to what I saved. I used the print-then-cut feature in Cricut Design Space and used cardstock for my signs. You can do any size sign you want, but mine were 4x6 so two fit on a page for printing. Once they are printed, make sure the upward arrow is aligned on the top left of the mat. This ensures the Cricut cuts the signs out accurately. After the Cricut cut the signs out, I put them into table number frames. If you do not have a Cricut, you can print these out on card stock and use scissors or a paper cutter to cut them. They were really affordable, and there are a lot of options out there. I made signs for our guest favors, sparklers, glow sticks for the dance floor, and one for guests to upload photos from the day. You can make signs for anything you want and make them unique to you and your wedding!
I hope you liked this post, and if you make your own signs, tag @sydneyj.artanddesign on Instagram or Facebook. A video of this DIY can be found on my Instagram and Facebook.
Have a blessed day,
Sydney